Imagine you’re standing in front of a canvas, experimenting with the wet-on-wet technique, letting colors bleed into one another to create a soft, dreamy landscape. You might wonder how mastering this technique can elevate your work beyond mere practice. There are various methods, like layering and using masking fluid, that can transform your approach and enhance your artistry. Each technique offers unique challenges and rewards, and understanding them can reveal new dimensions in your painting journey. What will you discover as you explore these techniques further?
Understanding Watercolor Basics
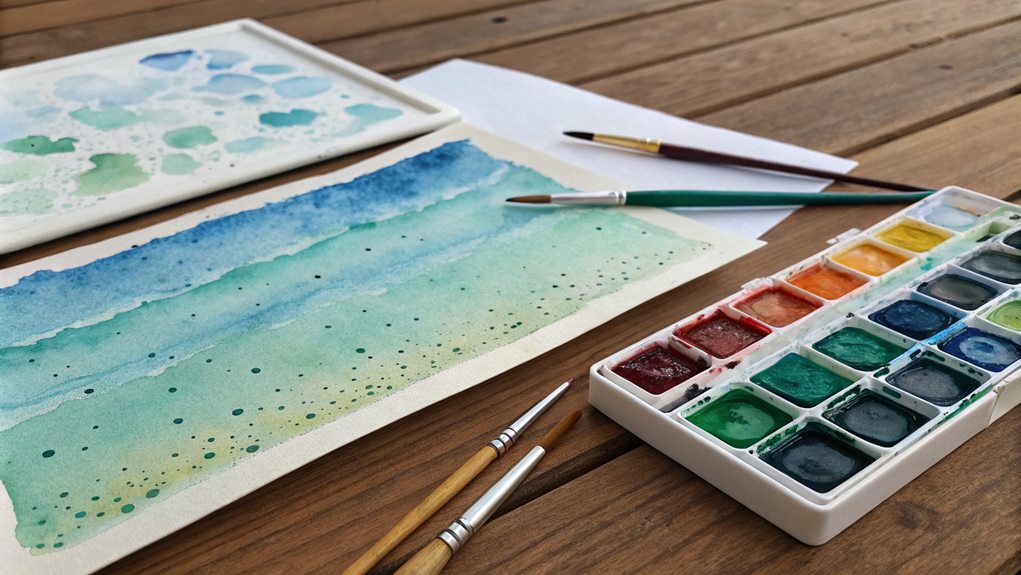
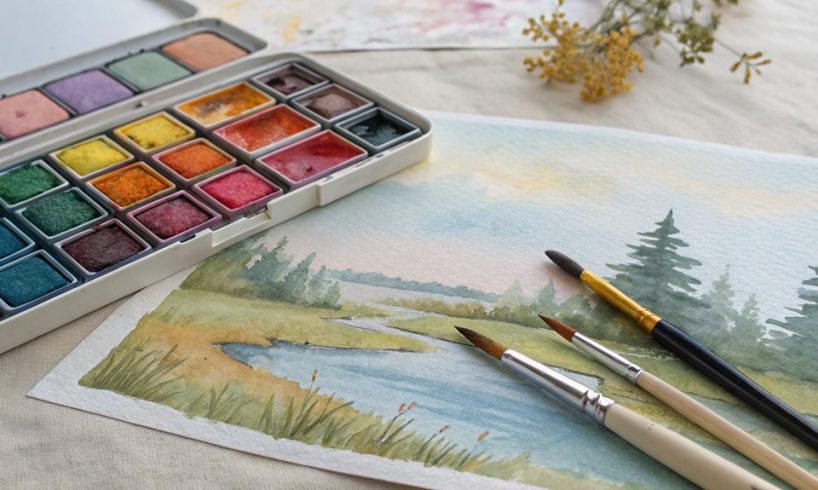
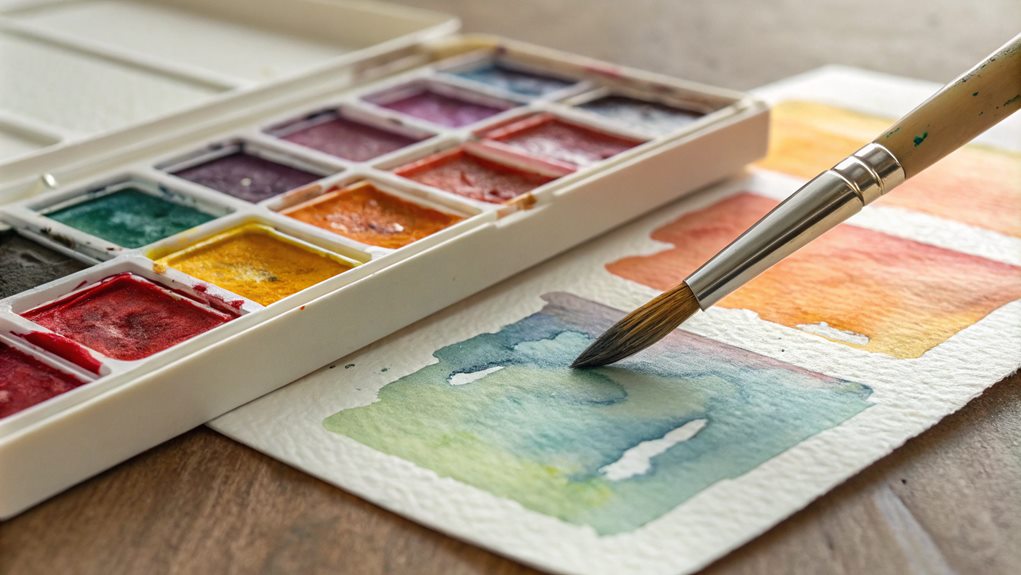
Watercolor painting is a unique and versatile art form that allows you to explore color in a fluid way. To get started, you’ll need a few essential supplies: watercolor paints, brushes, watercolor paper, and a palette. Each component plays a critical role in the final outcome of your artwork.
Understanding the characteristics of watercolor paints is crucial. They come in two forms: tubes and pans. Tubes offer vibrant colors and are easy to mix, while pans provide convenience for travel and quick setups. When you apply water to the paint, it activates, allowing you to create various shades and intensities.
Next, familiarize yourself with the importance of water. The amount of water you use will dramatically affect the transparency and flow of your colors. Less water yields a more intense hue, while more water creates softer washes. Experimenting with different brush techniques will also enhance your skills.
Lastly, don’t forget the significance of layering. Watercolors can be built up gradually, allowing for depth and dimension in your work. Embrace these basics, and you’ll set a solid foundation for your watercolor journey.
Wet-on-Wet Technique
One of the most enchanting techniques you’ll encounter in watercolor painting is the wet-on-wet method. This approach involves applying wet paint onto a wet surface, allowing colors to blend and flow beautifully. To start, wet your paper with clean water using a brush or sponge. The key is to guarantee the paper is evenly saturated but not puddling.
Once you’ve prepared your surface, you can begin adding your colors. As you place wet paint onto the damp paper, you’ll notice how the pigments spread and merge, creating soft edges and a dreamy effect. This technique is perfect for capturing soft skies, flowing water, or delicate flowers.
Experiment with different colors and observe how they interact. You can layer additional colors while the surface remains wet, allowing for stunning gradients and unexpected results. Don’t be afraid to tilt your paper slightly; gravity can lead to beautiful, organic shapes.
Keep in mind that the wet-on-wet technique requires quick decision-making, so be ready to embrace spontaneity. The more you practice, the more you’ll discover the enchanting possibilities this technique offers in your watercolor journey.
Wet-on-Dry Technique
After exploring the enchanting wet-on-wet technique, you’ll find the wet-on-dry method offers a contrasting approach that emphasizes control and precision. In this technique, you apply wet paint onto dry paper or a dry layer of paint. This allows you to create sharper edges and more defined shapes, making it ideal for intricate details and fine lines.
To begin, verify your paper is completely dry. Load your brush with pigment and apply it directly to the surface. You’ll notice that the colors remain vibrant and don’t bleed into each other as they do with wet-on-wet. This gives you the freedom to layer colors without worrying about unwanted blending.
Experiment with different brush types; a fine round brush works well for details, while a flat brush can create bold strokes. You can also manipulate the paint by varying the amount of water you use, allowing for a range of textures and effects.
Layering and Glazing
Layering and glazing are essential techniques that can transform your watercolor paintings by adding depth and richness. By understanding how to work with transparent layers, you can create stunning effects and subtle color variations. You’ll also want to explore color mixing strategies to enhance your palette and achieve your desired results.
Understanding Transparent Layers
While mastering transparent layers is essential for achieving depth and luminosity in watercolor painting, it’s important to understand the techniques of layering and glazing. These methods let you build rich visual effects without muddying your colors.
Start by applying a light wash of your chosen color as the first layer. Allow it to dry completely before adding additional layers. This drying time is critical because it prevents the colors from mixing unintentionally. When you’re ready to add a second layer, use a color that contrasts with the first to create depth. Keep your brushwork light and fluid to maintain the transparency.
Glazing involves applying a thin, transparent wash over an already dry layer. This technique enhances the underlying colors and can create subtle shifts in tone. Use a soft brush and make sure your glaze is diluted enough to remain transparent.
Color Mixing Strategies
Mastering color mixing in watercolor painting can greatly elevate your artwork, and two effective strategies—layering and glazing—play important roles in this process. Layering involves applying one wash of color on top of another once the first layer is dry. This technique allows you to build depth and create complex colors by mixing hues directly on the paper. Be patient; drying time is vital for achieving clean, vibrant layers.
On the other hand, glazing requires you to use a transparent layer of paint over a dried base layer. This method enhances luminosity and alters the colors without losing the details underneath. When glazing, choose colors that complement each other for the best effect. It’s helpful to test your mixes on scrap paper first to see how they interact.
Both techniques require practice, so don’t hesitate to experiment. Try different combinations of colors and observe how they change when layered or glazed. As you gain confidence, you’ll find that these strategies not only enrich your palette but also allow you to express your artistic vision more effectively. Embrace layering and glazing, and watch your watercolor skills transform!
Dry Brush Technique
One of the most versatile techniques in watercolor painting is the dry brush method, which adds texture and detail to your artwork. To start, you’ll need a brush with stiff bristles and minimal water on your palette. Dip your brush into the paint, then remove most of the moisture by dabbing it on a paper towel. This makes the paint thick and allows for a more controlled application.
Begin applying the paint to your paper using quick, light strokes. You’ll notice that the bristles will catch on the texture of the paper, creating a unique, scratchy effect. This technique is perfect for depicting rough surfaces like tree bark, grass, or rocky landscapes. Don’t hesitate to layer colors; this adds depth and dimension to your piece.
Experiment with different types of brushes and papers to see how they affect the outcome. Remember, less is often more with dry brush; too much paint can make it challenging to achieve the desired effect. With practice, you’ll master this technique and enhance your watercolor repertoire, allowing you to create striking, textured artworks that stand out. Enjoy the process and let your creativity flow!
Salt and Watercolor Effects
Adding salt to your watercolor paintings can create stunning and unpredictable effects that enhance your artwork. When you sprinkle salt onto wet paint, it absorbs the water and pushes the pigment away, resulting in unique textures and patterns. This technique adds depth and interest to your pieces, making them stand out.
To achieve the best results, start with a wet wash. Apply your watercolor as you normally would, ensuring the surface is still damp. Once you’ve established your desired color, grab some table salt or sea salt and sprinkle it over the wet paint. You’ll see the salt begin to absorb the moisture and create interesting shapes.
Leave the salt on the painting until it’s completely dry. Once dry, simply brush off the excess salt with a soft brush or your fingers. You’ll be left with a beautiful, textured effect that enhances the overall composition. Experiment with different salt types and amounts to discover various outcomes. Just remember, each application is a unique experience, so embrace the unpredictability of this technique. Your paintings will thank you for the added dimension!
Masking Fluid Application
Before you plunge into your watercolor painting, using masking fluid can be a game changer for preserving areas of white or light colors. This liquid latex product allows you to create sharp edges and maintain the brightness of the paper underneath. Start by shaking the bottle to mix the fluid thoroughly. Then, pour a small amount onto a palette or a dedicated container.
Using a brush or a fine-tipped applicator, apply the masking fluid to the areas you want to protect. Be sure to work quickly, as it can dry fast. It’s best to use an older brush since masking fluid can ruin fine brushes. If you’re masking intricate details, a ruling pen or a toothpick can help you achieve precision.
Once applied, let the masking fluid dry completely before you start painting. This usually takes about 15-30 minutes. When you’re done painting and the watercolors are dry, gently rub off the masking fluid with your fingers or an eraser. This reveals the untouched paper beneath, giving your artwork a vibrant contrast. Now, you’re ready to enjoy the benefits of masking fluid in your watercolor journey!
Experimenting With Texture
When you experiment with texture in watercolor painting, you’ll discover how different tools can transform your artwork. Layering techniques allow you to build depth and richness, enhancing the visual appeal of your pieces. Let’s explore some creative ways to achieve stunning textures that will elevate your paintings.
Tools for Texture Creation
Texture in watercolor painting can transform a simple composition into a fascinating work of art. By experimenting with various tools, you can create depth and interest in your pieces. Here are some essential tools for texture creation that you should try:
- Sponges: Use natural or synthetic sponges to dab and stipple paint onto your surface. They can produce soft textures and interesting patterns.
- Salt: When sprinkled on wet paint, salt absorbs moisture and creates unique, crystalline effects. It’s a fun way to add unexpected designs to your artwork.
- Plastic Wrap: Lay plastic wrap over wet paint and manipulate it to create wrinkled textures. As the paint dries, you’ll reveal beautiful patterns.
- Brushes: Experiment with different types of brushes, like fan brushes or rigger brushes, to achieve various textures. Each brush style offers unique strokes that can enhance your work.
Layering Techniques Explained
In watercolor painting, layering techniques can dramatically enhance the visual depth and richness of your artwork. By applying multiple washes, you can build texture and create complex effects that engage the viewer. Start with a light wash as your foundation; this initial layer sets the tone and helps define the areas of your composition.
Once the first layer dries, you can experiment with additional washes to add depth. Use a slightly darker color for your second layer, applying it selectively to areas where shadows or highlights are needed. Remember to let each layer dry completely before adding the next; this prevents unwanted blending and muddying of colors.
To create even more texture, try using techniques like wet-on-dry, where you apply wet paint onto a dried layer. This will give you sharper edges and defined shapes. Alternatively, wet-on-wet allows colors to merge beautifully, producing soft changes. Don’t hesitate to incorporate various tools or materials, like sponges or salt, to further enhance your layers. With practice, you’ll discover how layering can transform your paintings into vibrant, dynamic works of art.
Read The Next Blog Post –
As you immerse yourself in the world of watercolor painting, remember that nearly 70% of artists find joy in experimenting with different techniques. Embrace the journey of learning and let your creativity flourish! Whether you’re blending soft hues with the wet-on-wet method or adding texture with salt, each technique offers a unique way to express yourself. So grab your brushes, explore these techniques, and watch your art come to life in vibrant, unexpected ways!
#WatercolorTechniques #ArtMethods #PaintingTips #WatercolorArt #CreativePainting